Why the Deep Desert Matters
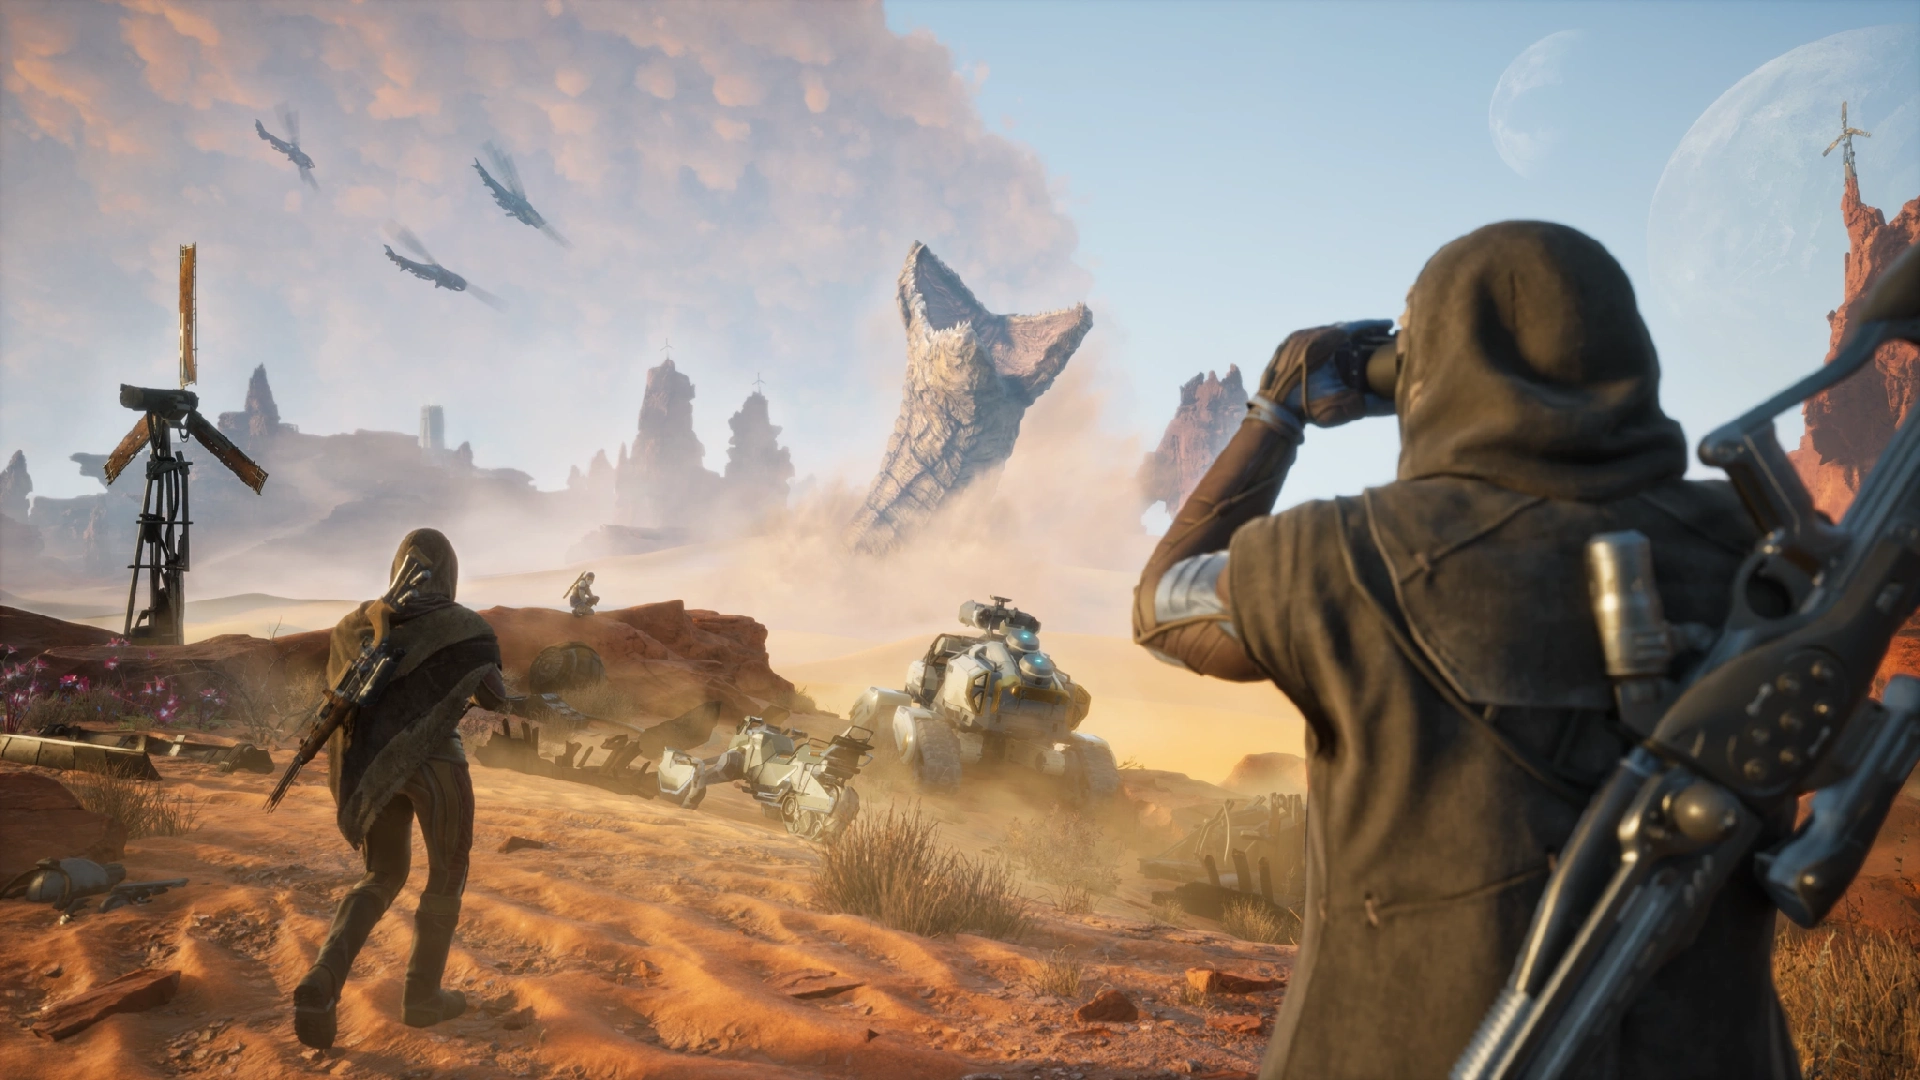
The Deep Desert isn’t just a late-game zone in Dune: Awakening—it’s the crucible. It’s where the best gear is forged, the rarest resources spawn, and where control of the spice literally determines which House gets to write the next chapter of Arrakis.
As of Patch 1.1.0.17, Funcom has overhauled the Deep Desert experience, splitting the massive map into PvE-safe zones in the south and high-risk PvP chaos in the north. This change was a direct response to player feedback that PvP felt unavoidable and unforgiving, especially for solo players or smaller guilds. Now, you’ve got options—and this guide will help you choose your battles wisely.
We’ll break down everything: how to get there, what to bring, which parts of the desert to avoid (or dominate), and how to extract resources without getting flattened by a thopter mid-harvest. Whether you’re sneaking in for schematics or gearing up for all-out faction warfare, the Deep Desert is where the game’s systems—and players—truly collide.
And yes, you’ll still die thirsty if you don’t plan ahead.
Getting There: Travel, Thopters, and Prep
Reaching the Deep Desert is easy—surviving it? That’s where the real game begins. Before you even think about setting foot (or wing) in Arrakis’ deadliest sandbox, you’ll need to prep like your loot, your limbs, and your last nerve depend on it. Because they do.
How to Reach the Deep Desert
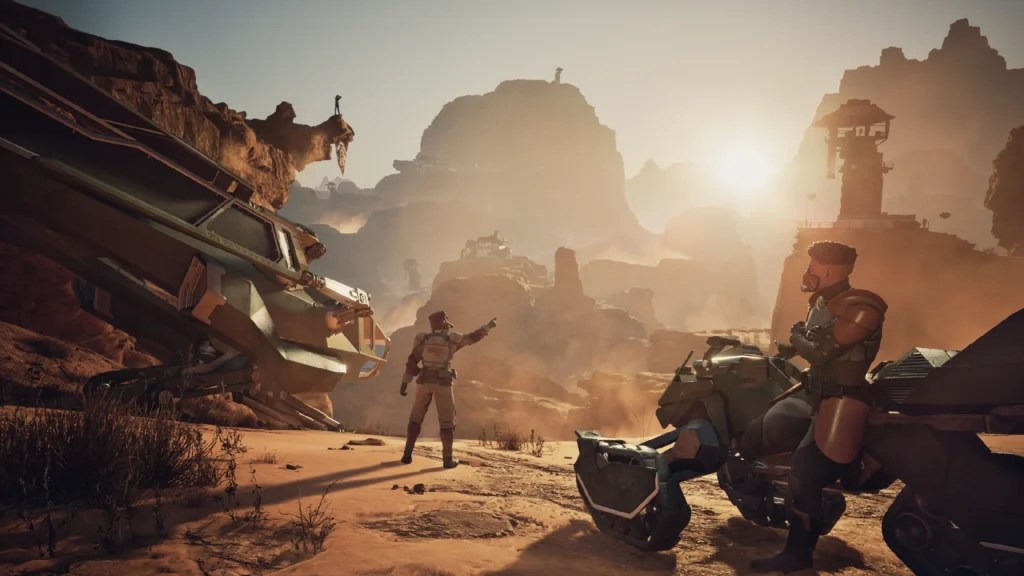
First: you’ll need an Ornithopter. No fancy flight, no entry. Fly to the outer edge of your Hagga Basin map, trigger the prompt, and you’ll cross into the Overland layer where water and fuel start ticking down like a doomsday clock. Three blue bars mark the entry tiles into the Deep Desert—a 9×9 grid made up of 81 zones stretched across nine server shards. Each shard caps at around 100 players, with about 300 players active in the entire desert at any given time.
Pick your entry tile wisely, because where you land can dictate how fast you die—or how fast you escape.
Prep Before You Go
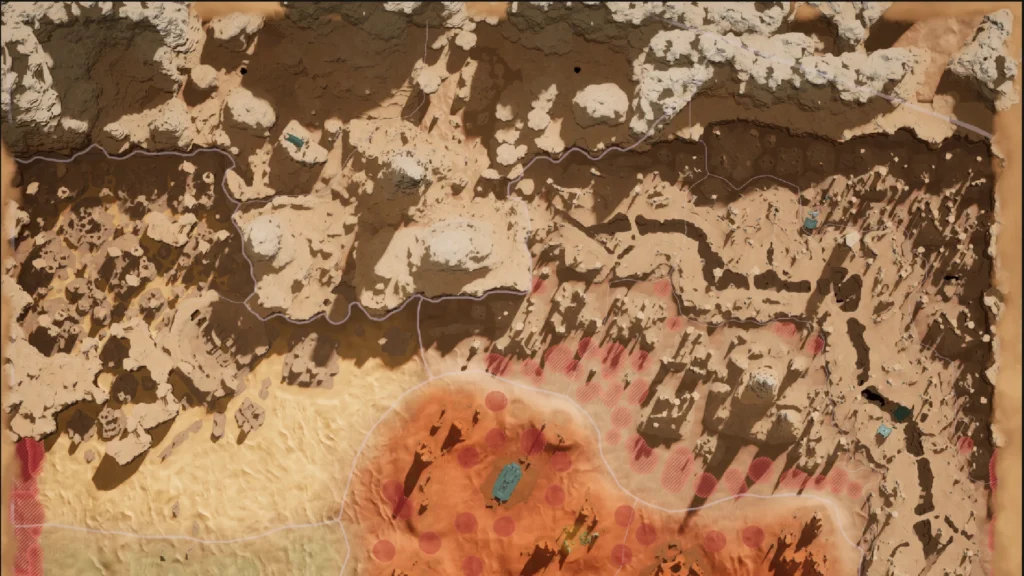
Top off your ornithopter’s fuel and health before you head out. Stockpile water, fuel cells, welding tools, and—this is key—a respawn beacon. The Deep Desert is now split: the southern half is PvE-friendly (meaning you won’t get shanked immediately), while the northern expanse remains full PvP chaos. Loot tables and structure locations are tied to those zones, so plan accordingly.
In other words: bring gear, bring friends, bring a backup plan—or bring a respawn screen.
Tip for Smooth Returns:
Here’s where new players get burned (sometimes literally): your exit point matters. If you leave the Deep Desert from the west, you’ll drop back into Hagga Basin on the west. Same for north, south, or east. Don’t be the person who ends up stranded halfway across the map from your base because you panic-exited at the wrong door.
In short: choose your exit like you choose your allies—carefully. Arrakis remembers every mistake.
What You Need Before Entering
- Tier 3 Gear Minimum: Anything less and you’re underdressed for the sandstorm. PvE mobs hit harder here, and PvP ambushers won’t give you a second chance.
- Water Reserves: Two or more canteens fully stocked. Heat exhaustion hits harder the further you go, and spice harvesting drains stamina like crazy.
- Mobility Tools: Grapples, jump pads, or stim packs help with vertical terrain. Bring anything that lets you escape or reposition quickly.
- Consumables: Heat dampeners, stealth packs, medkits, and anti-spice withdrawal meds. Don’t bring what you can’t afford to lose.
Thopter Requirements and Stamina Traversal
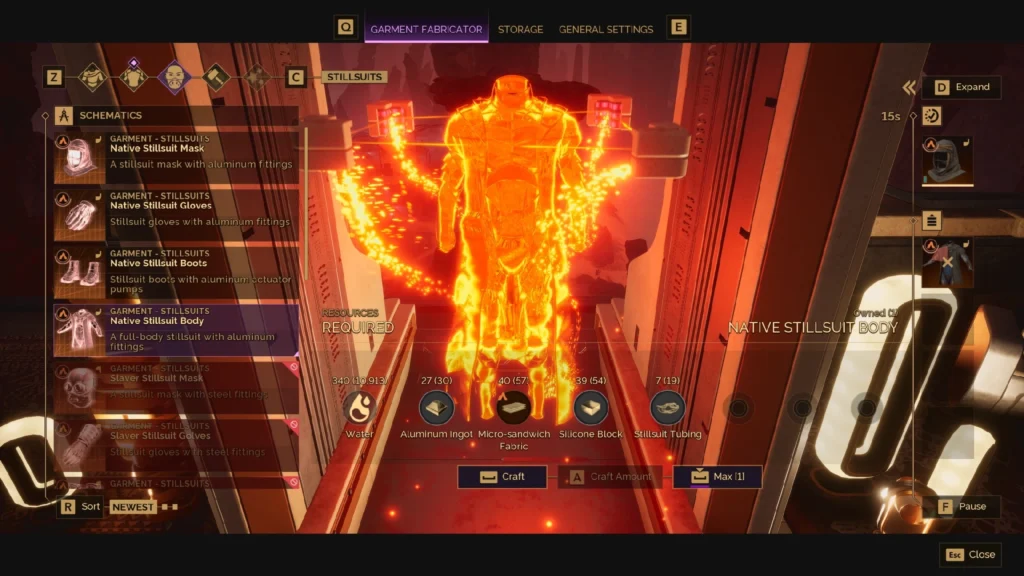
A thopter is almost mandatory—especially for northern PvP zones. Without one, you’ll be forced to run and climb, draining stamina fast and making you an easy mark for airborne players.
- Scout Thopter: Fast but fragile. Great for recon runs or hit-and-run spice harvesting.
- Assault Thopter: Slower, more armored, and now slightly nerfed in Patch 1.1.0.17 (reduced speed with rocket modules). Still the king of Deep Desert dominance.
Even with a thopter, stamina still matters. You’ll frequently dismount to climb ruins, dodge storms, or sneak into spice fields. Bring stamina regen items and learn to read the terrain—cliffs and canyons are your allies when things go bad.
Recommended Power Level
While there’s no formal “level gate,” you should have:
- Combat power over 200
- Base defenses and crafting stations set up at home
- Basic thopter piloting unlocked
- At least one trade route or guild supply line established
Otherwise, you’re just feeding the vultures.
Understanding the Zones – PvP, PvE, and Risk Levels
The Deep Desert isn’t just one vast danger zone—it’s now a divided battlefield, reshaped by Funcom’s latest patch to offer both intensity and accessibility. The southern half of the Deep Desert has officially become PvE territory, giving solo players and non-combat-focused explorers space to breathe, gather, and build. You can find Imperial Testing Stations, caves, and rare resources here without risking your entire inventory to other players. But don’t get too comfortable.
The northern half is where things heat up—literally and figuratively. This is the high-stakes PvP area, where full-loot rules apply, thopters scream overhead, and control points become the flashpoints for faction warfare. The deeper north you go, the more valuable (and contested) the resources. Rare materials like plasteel plates, stravidium, and titanium are exclusive to these dangerous zones, with loot tables that double or triple what’s found in PvE. In PvP areas, it’s first come, first armed.
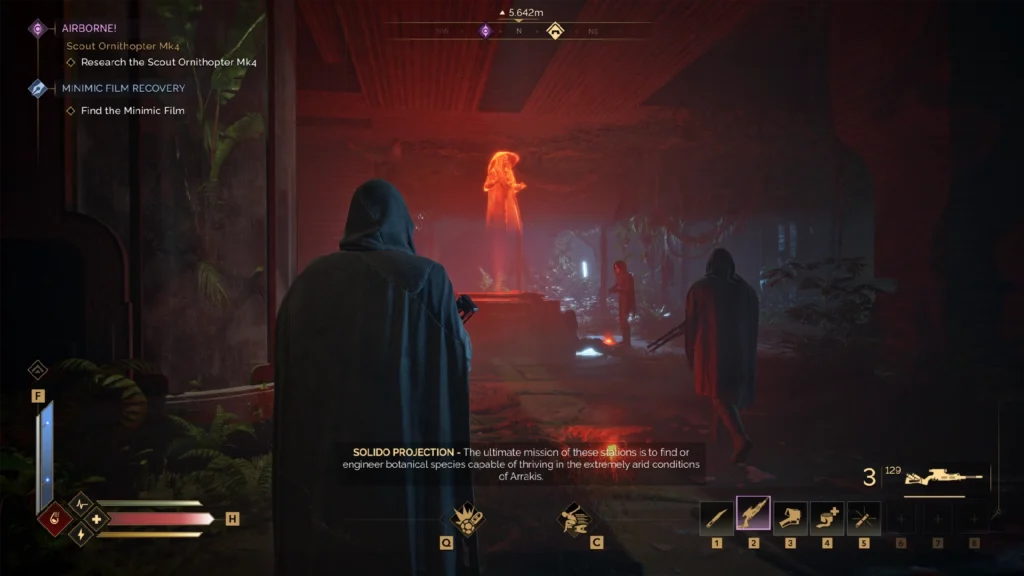
In the southern PvE half, each player is now guaranteed their own schematic per testing station, whereas in the northern PvP half schematics are first-come-first-serve and come in loads of 2–6 per loot run.
The game does a decent job telegraphing danger. Entering a contested zone prompts clear HUD warnings, and spice blooms or control points act as glowing bait for player conflict. Storm activity and shifting wind patterns can also isolate you fast, creating ambush zones that favor players who know the terrain. If you’re in a squad, it’s a strategic map. If you’re alone, it’s a minefield.
Whether you’re scouting for loot or fighting for territory, knowing where you are—and how exposed you are—is half the battle. The other half is making it out alive.
Enemies, Resources, and NPC Threats
Survival in the Deep Desert isn’t just about dodging thopters or outmaneuvering rival players—it’s also about knowing what lives out there with you, what’s worth the risk, and what’ll bury you in sand for trying.
The southern PvE half of the Deep Desert remains hostile, but manageable. You’ll run into raiders in scattered camps, lightly armored patrols near caves and Imperial Testing Stations, and the occasional swarm of drones guarding high-value loot caches. These encounters can be tackled solo with decent gear, but watch your hydration and encumbrance—you don’t want to win a fight only to die from heatstroke on the way back.
The farther north you go, the more dangerous—and rewarding—it becomes. Enemy patrols grow stronger and more coordinated, especially near control points and high-tier resource clusters. Elite NPCs wield heavier firepower, and often travel in groups. They’re not impossible to farm, but they will punish overconfidence. Killing them nets more schematics, crafting components, and rare gear drops—assuming you’re not picked off by a player while looting.
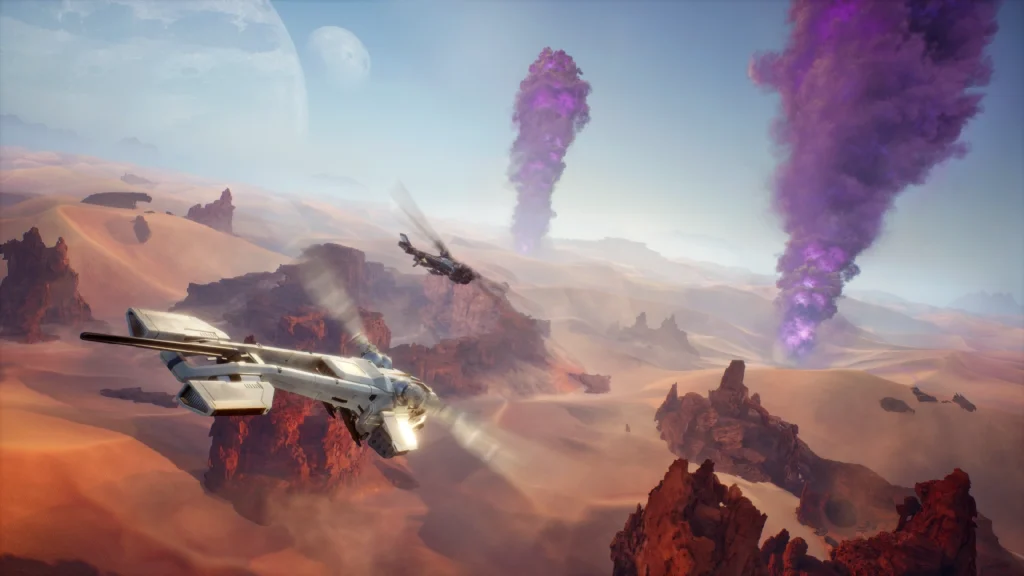
Then there’s the ecosystem itself. Spice Blooms remain your most valuable target: volatile, visible, and loud. They draw both players and sandworms like magnets. Harvesting them solo is a gamble; harvesting them with backup can trigger full-blown skirmishes. Smaller spice fields are more frequent post-patch, but the largest ones still spawn in the PvP-heavy north.
Rare resources like plasteel plates only drop in PvP zones, while materials like stravidium and titanium are severely limited in PvE areas and have longer respawn timers. Nodes in the north yield more, but that density comes with bloodshed. Always assume someone’s watching.
The Deep Desert doesn’t hand out resources—it dares you to take them. Know what you’re after, and know who might be coming for it too. Note: Despite earlier patch notes stating that Plasteel plates drop only in PvP zones, recent studio updates and community testing (like Game8 and Steam Discussion replies) confirm that Plasteel still drops from chests in shipwrecks—some of which lie in the southern PvE half—though rarer than in PvP areas. So yes, you can occasionally farm it without entering full PvP—but odds are far higher if you do.
How to Survive PvP Ambushes (Solo and Squad Tips)
In the Deep Desert, survival isn’t about flashy kills—it’s about gear, positioning, and knowing when to run. Even post-patch, where PvE zones offer safer farming routes, northern PvP regions remain brutal, and venturing there unprepared is a shortcut to getting stripped and respawned.
Solo Players: Mobility > Firepower
When flying solo, focus on lightweight loadouts built for speed and escape. Equip a Stillsuit Mk. II or higher for better hydration efficiency and passive regen. Pack Smoke Emitters and Decoy Pods—they buy you precious seconds to vanish when thopters show up. A compact SMG with high fire rate and low recoil is your best bet for fending off raiders up close. Melee? Not unless you’re ambushing, and even then, keep it fast—think ceremonial blades or vibrodaggers.
Carry Spawn Beacons and stash extras in cliffside caches. You’ll also want a Sand Skimmer or Basic Thopter with fuel reserves already stored in its cargo. And don’t skip the Navigation Scanner: it’s one of the few tools that can detect nearby players who aren’t broadcasting their signal.
Thopter Threats and Counters
While goomba-stomping is less effective after the vehicle behavior patch, thopters are still the PvP kingmakers. Carry EMP Charges or Signal Jammers—they disrupt modules and force flyers to ground or retreat. The Rugged Carbine with anti-air mods can help too, though aim-assist still struggles at high elevations. If you’re thopter-less, stay near storm zones or tight canyons where air-to-ground attacks are riskier.
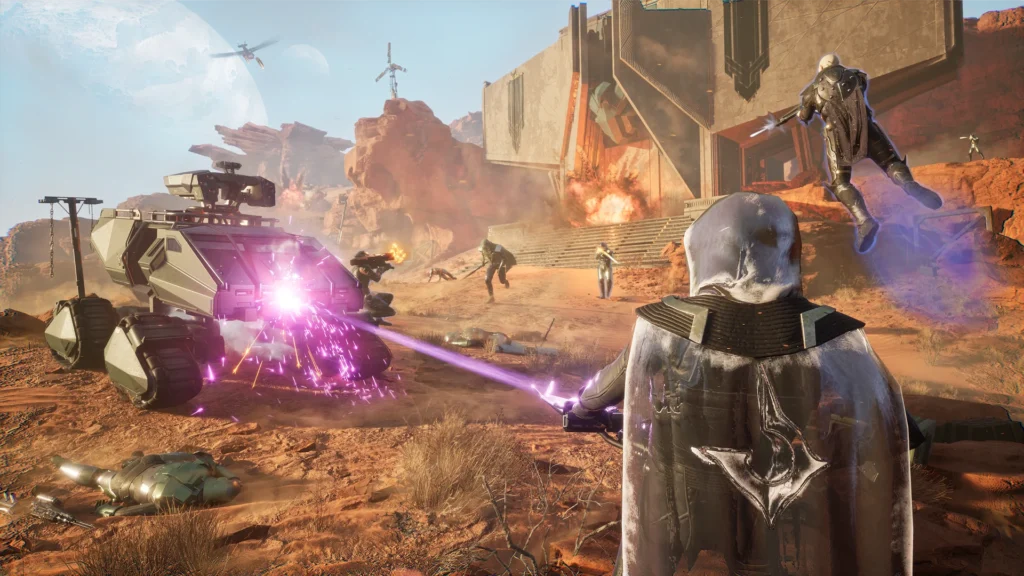
Squads: Roles, Loadouts, and Formations
Running with a group? Treat it like a drop squad. Assign gear-specific roles:
- Scout: Lightweight armor, high mobility, Binoculars, and Sensor Darts.
- Heavy: Combat Plating, shotgun or grenade launcher, and a thopter for overwatch.
- Support: Repair Tools, Water Dispensers, and gear buffs (e.g., rally banners).
- Sniper/Spotter: Scoped rifle, stealth modules, and high-ground positioning.
Always rotate scouts ahead, keep a thopter circling for exfil, and avoid clustering. A single well-placed rocket can wipe a packed squad. Bring Plasteel Repair Kits to salvage gear post-fight, and keep comms tight—many desert deaths happen because someone wandered 100 meters too far for help to reach.
Whether solo or squad, remember this: the Deep Desert doesn’t reward bravery—it rewards readiness. Plan like it’s already gone wrong, and you’ll come out with your gear—and maybe someone else’s.
Base Forwarding and Mobile Ops
You can build in the Deep Desert—but whether you should depends on your goals, your gear, and how many people have your back.
The game doesn’t restrict base placement, but permanent structures in PvP zones are high-risk investments. Sandstorms, raiders, and rival Houses can dismantle your work in minutes, especially during the 6-minute post-storm vulnerability window when base defenses drop. That’s why most experienced players lean into mobile ops: temporary or modular FOBs that can be deployed, sacrificed, or rebuilt on demand.
Sietches (player bases) in the southern PvE half of the Deep Desert are far more sustainable post-patch. These zones are now safe enough to support farming hubs, crafting benches, and low-risk respawn points without worrying about full-loot PvP. But if you’re targeting northern spice fields, titanium veins, or control points, you’ll need forward bases in contested territory.
A good FOB isn’t just a box with a bedroll. Here’s what to look for:
- Elevation + Cover: Tuck into cliffs or rock formations to stay hidden from thopter flyovers.
- Proximity to Resources: Stay near spice or stravidium, but not right on top—spawn points become death zones fast.
- Storm Shelter: Reinforced interiors are a must. Sandstorms kill unprepared structures and unanchored players.
- Respawn Anchor: Always include a spawn point. Losing it mid-run can cost you hours of gear and progress.
Savvy builders use “defense-in-depth” layouts—multiple doors, misdirection corridors, and honeycomb basements that hide consoles and delay attackers. Others use false entry points to waste enemy time. In PvP, seconds matter.
Mobility is your safety net. With solid replicators, you can save base blueprints and redeploy when needed. Pair that with a dual-base strategy—one main sietch in central zones like Hagga Basin, and a throwaway FOB near the Deep Desert border—and you’ve got flexibility built in.
In short: Build smart. Build small. Never build once. The Deep Desert rewards adaptability and punishes anyone who treats it like home.
Thopter Combat and the Current Meta
If you’re not flying, you’re dying.
That’s been the PvP reality in the Deep Desert, where ornithopters reign supreme. Before the first major patch, scout thopters with rocket loadouts dominated every engagement—they were fast, deadly, and absurdly hard to counter. Airborne players could hit, run, and even pull off absurd “goomba stomps” by crashing into ground units for instant kills. It was fast becoming a no-fly zone for everyone except the most elite flyers.
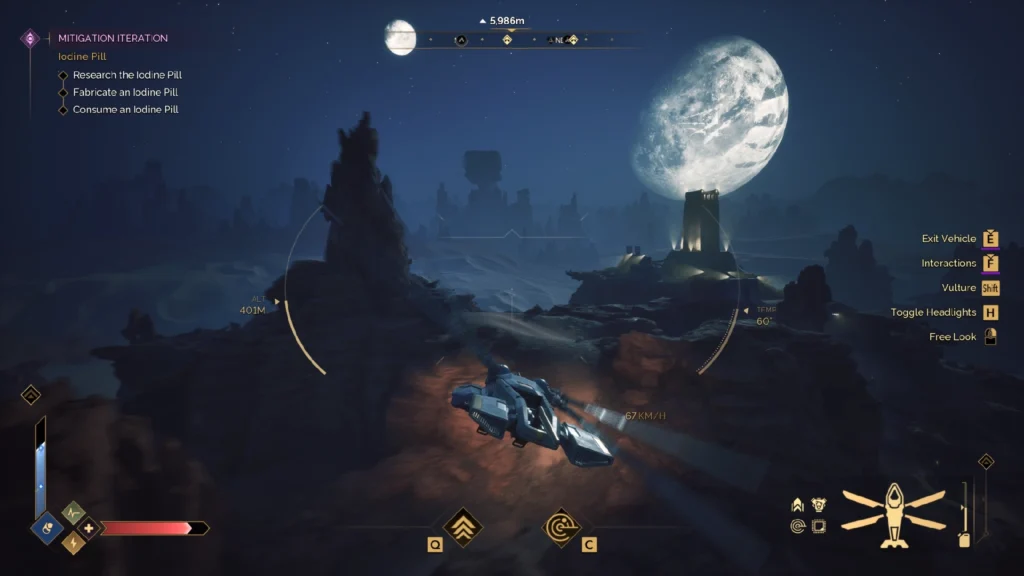
Patch 1.1.0.17 brought a long-awaited nerf: rocket-equipped thopters now suffer a top-speed penalty—20% for scout variants, 10% for assault models. It’s not a full solution, but it gives grounded players a sliver of breathing room and makes air dominance a little more skill-dependent.
That said, air superiority still rules the Deep Desert. If you want to compete, here’s what you need to know:
Best Thopter Loadouts
- Scout Thopter (Mobility Build): Skip the rockets, keep the speed. Great for hit-and-runs, recon, or baiting enemies into ground traps.
- Assault Thopter (Heavy Loadout): Slower but more durable. Rocket modules and ammo crafting benches on board make it a mobile death machine—but you’ll need support to hold territory.
- Support Thopter (Squad Build): Carrying med kits, deployables, or extra gear for your crew. Not built for speed or combat, but invaluable for raids.
Anti-Thopter Tips
- Cover is life: Hug cliffs, caves, or wreckage. Open dunes are killzones.
- Bait the crash: Thopters that overcommit can be punished—use fake retreats to lure them low.
- EMP grenades and spike launchers (if unlocked): These are your best shot at disabling or grounding a flyer.
- Ground-to-air coordination: Lone players won’t ground a thopter, but a coordinated squad with ranged pressure can drive them off.
And if you’re still on foot? You’re not helpless—but you are on borrowed time. Keep your runs tight, travel in squads, and never stand still in open terrain. Thopter pilots are watching, and now that goomba stomping is harder (but still possible), they’re adapting their tactics.
In short: the skies may be a little less deadly, but air superiority is still a defining edge. Whether you’re flying or hiding from what’s flying overhead, understanding thopters is mandatory in the Deep Desert.
Spice Harvesting – Risk, Reward, and Strategies
The spice must flow—but only if you’re willing to bleed for it.
Spice harvesting in Dune: Awakening isn’t just a side hustle—it’s the economy, the upgrade path, and the reason players risk their lives in contested zones. Post-patch, the Deep Desert is now divided between a safer southern PvE section and a far more volatile northern PvP region. The spice is still out there, but where you go and how you go after it matters more than ever.
Where the Spice Grows
- Southern PvE Zones now host small and medium spice blooms, safer but less profitable. Expect increased competition, but fewer ambushes. These are ideal for new players or small groups looking to ease into spice ops.
- Northern PvP Zones feature larger spice fields, higher-density spawns, and better drops—including 2–6 schematics per loot pile versus a single guaranteed schematic in PvE zones. The catch? You’re not alone, and PvP rules apply. First come, first served—and first dead, even faster.
Timing and Weather
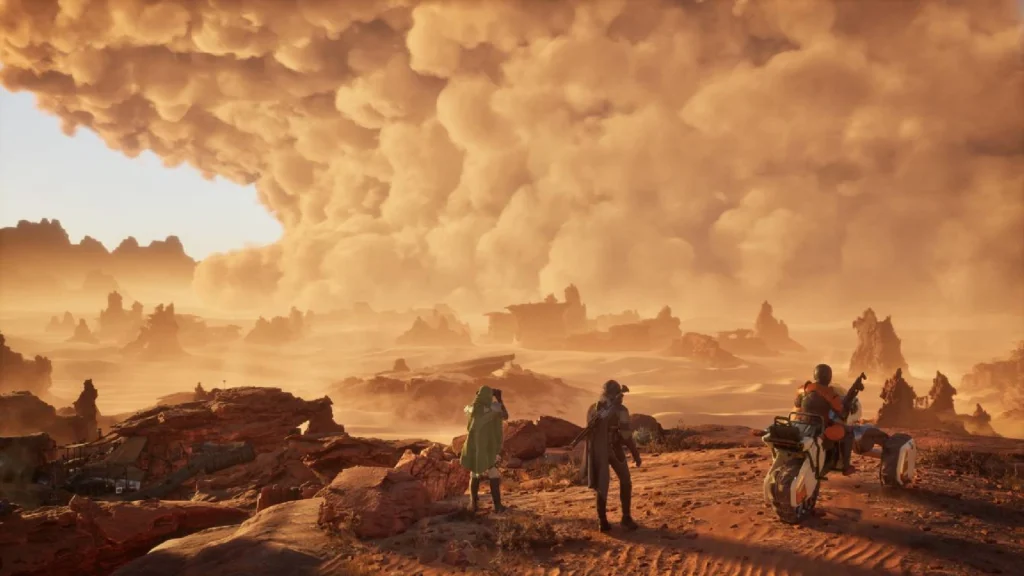
- Spice blooms are timed events. They erupt across zones and trigger rushes of players hoping to claim them first. You’ll want to scout early, hover nearby, and time your approach carefully.
- Sandstorms can erase you mid-run. Always check the weather window before committing to a long-range spice op. Storms don’t just kill you—they reset progress and scatter enemy groups, which some players exploit for hit-and-run tactics.
Harvesting Loadout Essentials
Bring these every time:
- Refined stillsuit (Tier 2+ minimum for the heat)
- High-capacity water packs
- Inventory mods or companions for haul capacity
- Thopter evac plan or FOB respawn point
Bonus tip: Scout thopters without rockets make great extraction vehicles. Faster in and out, less risk of friendly fire during a chaotic bloom brawl.
Best Strategies
- Solo in PvE, Squad in PvP – You can harvest solo in the southern zones, but bring a full squad to the north. You’ll need lookouts, guards, and a hauler.
- Split roles – Assign one player to keep the thopter ready, one to harvest, and two to cover or scout. Flex roles based on threat level.
- Bank regularly – Don’t wait to offload a full haul. Too many players have died greedy.
- Trade or wait – If you can’t win the PvP fight this week, trade for schematics or wait for them to rotate to a PvE spawn point.
Faction Control and Influence Mechanics
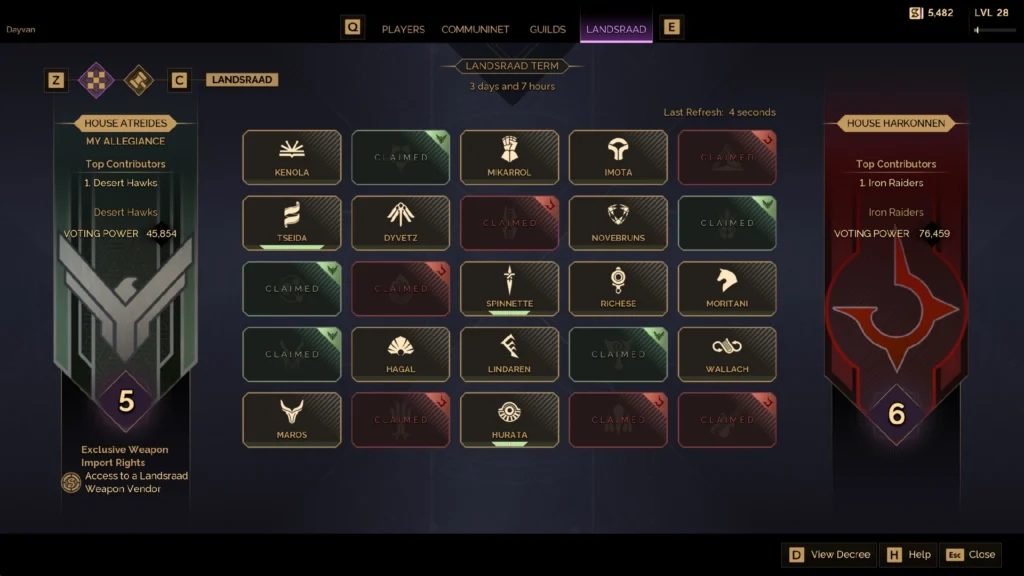
In Dune: Awakening, territory isn’t background noise—it’s the endgame. Whoever holds the Deep Desert holds the power: better loot, richer spice fields, and leverage over the game’s economy and tech. It’s not just about firefights and flag captures—it’s about lasting presence, strategic control, and outplaying your enemies long after the shooting stops.
Why Holding Ground Matters
Controlling Deep Desert real estate gives your House or alliance more than bragging rights. It’s tangible, game-altering power:
- Spice and Resource Access: The best mineral veins (titanium, stravidium) and the largest spice blooms spawn up north—and most of it’s locked behind PvP control.
- Influence Points: These stack up when your faction holds Control Points or Imperial Testing Stations. Influence unlocks perks, tech bonuses, and power boosts that can tilt entire regions in your favor.
- Crafting and Market Edge: Rare schematics—especially from the PvP Imperial Testing Stations—rotate weekly. Control the zone, and you control the flow.
How You Can Tip the Scales
You don’t have to be a warlord to shift the balance. Even solo players and small squads can make a difference:
- Assault and Defend Control Points: Join larger efforts or hit during off-peak hours. Smart timing beats brute force.
- Secure Logistics: Protect extractors, haul gear, or reinforce forward bases. Support players are the spine of every operation.
- Contribute Spice and Materials: Guilds track who’s pulling their weight. Drops, buffs, and status often go to those who deliver.
- Scout Enemy Activity: Intel matters. Knowing where a rival faction stashes its FOB can cripple an entire push.
Power, Paranoia, and Political Fallout
Control in Dune: Awakening isn’t just mechanical—it’s social. As Houses gain territory and influence:
- They attract stronger players, creating power vacuums and rival blocs.
- They influence market prices, setting crafting costs or hoarding schematics.
- They make enemies—and deals. Today’s ally might be tomorrow’s backstabber if the spice flow slows.
The desert remembers who holds the line—and who folds under pressure.
Should You Go Alone?
The Deep Desert isn’t built for heroes. It’s built for survivors.
If you’re a solo player, the southern half of the Deep Desert now offers real options. Post-patch, you can farm, explore, and even tackle some Imperial Testing Stations without ever flagging for PvP. It’s not risk-free—storms, NPCs, and contested events still pose threats—but it’s finally playable without being cannon fodder.
That said, the north is another story. This is where factions clash, spice wealth pools, and full-loot PvP rules the sand. Walking in without backup is a gamble—sometimes thrilling, often punishing. Going in alone means relying on stealth, speed, and sheer grit. And even then, a thopter gang can turn your best-laid plan into a respawn screen in seconds. One solo player shared a hot tip on Reddit:
“When venturing into the PvP desert, bring lots of fuel and at least a repair tool… glide high in vulture mode and look for spice. If you see purple bubbles in the sand, there’s an impending blow… hover about 50 m out, then dive in the second it pops.”
That lets you milk the bloom, grab melange, and bug out—before anyone notices. Still, every wrong move risks a thopter ambush, so calculate your flight path and extraction carefully.
Pro tip: hit the edges of the map, not the crowded corridors. One user advised approaching hotspots like H8 from less-traveled angles—perpendicular to main lanes. You’ll spot time your flanks better, reduce run-ins, and sneak in that titanium—or that next big haul.
So should you go?
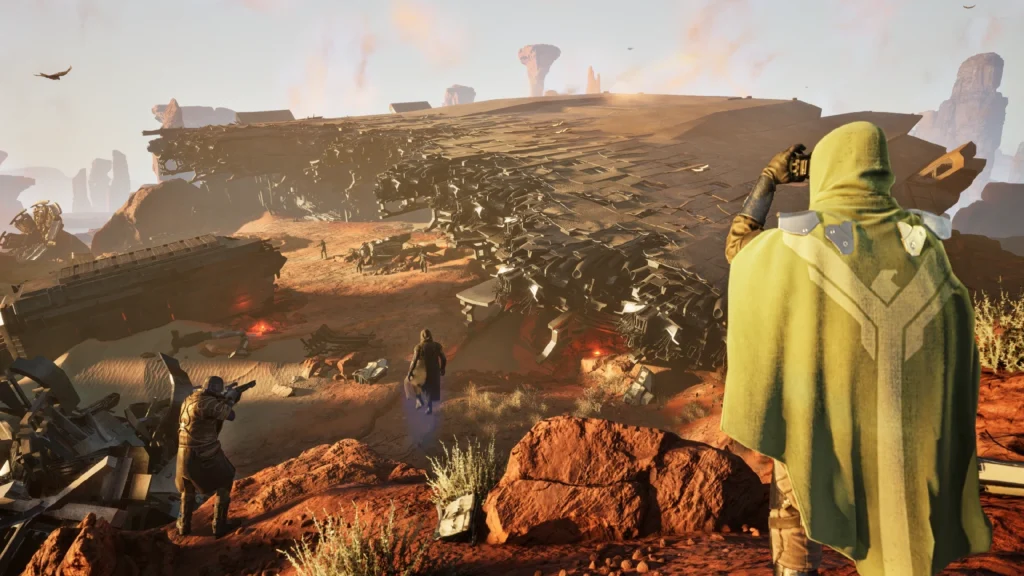
If you’re new, solo, or undergeared—stick to the south, gear up, learn the terrain, and maybe dip into the edges of PvP events. If you’re part of a group or looking to stake a claim for your House, the north is where the real game lives. Just don’t bring what you can’t afford to lose.
Arrakis rewards ambition—but only if it’s backed by preparation, coordination, and a little madness.
Final Notes
The Deep Desert is Dune: Awakening at its most unforgiving—and most rewarding. It’s where the game sheds its tutorial skin and asks you what kind of player you really are. PvE players finally have a foothold thanks to Funcom’s post-launch patch, but the heart of the desert still beats loudest in PvP territory. That’s where the rarest spice flows, the strongest materials spawn, and player ambition collides in full-force skirmishes over fleeting control points. Whether you’re building out a forward base with your crew, picking through wreckage solo in the southern dunes, or sky-dueling thopter pilots over a spice bloom, the Deep Desert is where the systems lock in and the stakes get real. It’s not for everyone—but it is the defining experience of Dune: Awakening. Enter prepared, stay mobile, and remember: the sand never forgets.
For a full breakdown of survival, combat, and whether the spice is truly worth the grind, check out our complete Dune: Awakening review. And if you’re looking ahead, don’t miss our roundup of the biggest upcoming games of July 2025.


